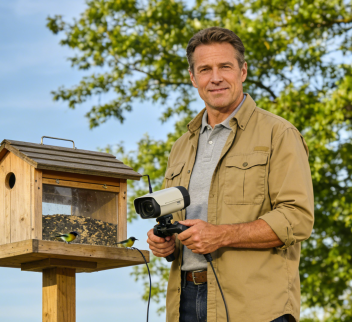
There’s nothing more frustrating than setting up your bird feeder camera only to have it constantly go offline, buffer, or drop its connection. Before you blame the device, know this: weak or unstable Wi-Fi is almost always the culprit. Outdoor cameras face unique challenges with distance, obstructions, and interference. The good news is that with a few strategic adjustments, you can achieve a rock-solid connection. Here are five effective methods to boost your signal and ensure your Wi-Fi bird feeder camera delivers the smooth, live viewing experience you paid for.
1. Optimize Camera Placement: Location is Everything
Where you install the camera is the single biggest factor for signal strength. Follow the “Clear, Close, Quiet” rule.
- Minimize Distance: Keep the camera within 30 feet (10 meters) of your router for an ideal signal. Every extra foot and wall weakens it.
- Avoid Physical Obstructions: Walls (especially brick or concrete), dense trees, and metal siding can block or scatter Wi-Fi signals. Mount the camera in a semi-open area with the clearest possible line of sight to your home.
- Reduce Electronic Interference: Keep the camera away from other 2.4GHz devices like microwaves, baby monitors, Bluetooth speakers, and even crowded neighbor networks. A 10-foot buffer can significantly reduce dropouts.
2. Tweak Your Router Settings for a 2.4GHz World
Most bird feeder cameras only connect to the 2.4GHz band due to its superior range. Optimize your router for this frequency.
- Separate Your Network Bands: In your router’s admin settings, create separate network names (SSIDs) for your 2.4GHz and 5GHz bands (e.g., HomeWiFi_2G and HomeWiFi_5G). Connect your camera exclusively to the 2.4GHz network.
- Find the Clearest Channel: Use a free app like WiFi Analyzer to see which 2.4GHz channels (1, 6, or 11 are best) are least crowded in your area. Log into your router and manually switch to the clearest channel to cut through interference.
- Update & Power Up: Ensure your router’s firmware is updated. If it has a “High Performance” or “Transmission Power” setting, enable it to boost signal strength legally.
3. Extend Your Network’s Reach with a Repeater or Mesh
If your feeder is simply too far from the router, you need to extend your network’s reach.
- Use a Wi-Fi Range Extender: Place a 2.4GHz Wi-Fi extender halfway between your router and the camera. It will pick up your existing signal and rebroadcast it, effectively doubling your range. Look for an outdoor-rated model if the extender itself will be outside.
- Upgrade to a Mesh System: For large properties or homes with many walls, a mesh Wi-Fi system is the ultimate solution. Multiple nodes work together to blanket your entire area in a single, strong network, eliminating dead zones and providing seamless coverage for your outdoor camera.
4. Optimize the Camera’s Own Settings
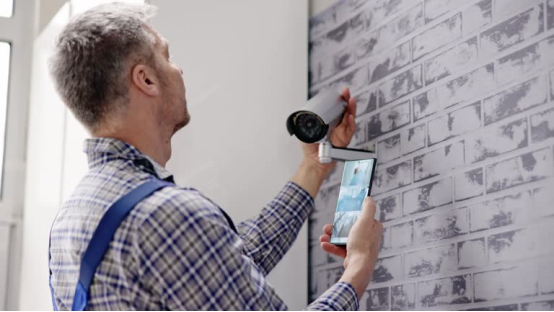
Reduce the bandwidth demand and connection strain from the camera itself.
- Lower the Video Resolution: In the camera’s app, switch from 2K/4MP to 1080p or 720p. The lower resolution uses less bandwidth, which can eliminate buffering on a marginal connection.
- Disable Non-Essential Features: Turn off full-color night vision unless absolutely needed, as it requires more data. Reduce the frequency of motion alerts or set them only for confirmed birds to minimize background data checks.
- Schedule Reboots: A simple weekly reboot via the app can clear temporary software glitches and refresh the network connection, preventing slow degradation.
5. Perform Hardware & Environmental Checks
Sometimes the issue is physical.
- Check Antenna Orientation: If your camera has an external antenna, ensure it’s pointed toward your router or extender.
- Keep It Clean: Dust, spider webs, and debris on the camera, especially over any antenna area, can subtly degrade reception. Give it a gentle wipe-down periodically.
- Consider the Weather: While cameras are weatherproof, extreme conditions like heavy rain or snow can temporarily attenuate signal. A simple, non-metallic awning over the camera (not blocking the lens) can help.
FAQ: Your Connection Questions Answered
- Why does my camera only use 2.4GHz Wi-Fi?
A: 2.4GHz waves travel farther and penetrate walls/foliage better than 5GHz, making them far more reliable for outdoor, long-range applications like a bird feeder camera. - Will a wall between the camera and router block the signal?
A: It will weaken it. One or two standard drywall walls may be okay, but brick, concrete, or stucco significantly reduce strength. Use a repeater or mesh node to bypass the obstacle. - Is the lag from my camera or my phone?
A: Test by watching the live feed while your phone is connected to your home Wi-Fi. If it’s smooth, the problem was your phone’s cellular data. If it’s still laggy, the issue is between the camera and your home network. - Does weak Wi-Fi drain the camera’s battery?
A: Yes. Constantly searching for and reconnecting to a poor signal consumes extra power. A strong, stable connection is key to maximizing battery or solar panel efficiency.
Conclusion: Reclaim Your Live View
A bird feeder camera going offline is a solvable problem. By methodically addressing placement, router configuration, network range, and device settings, you can transform a flaky connection into a dependable one. This ensures you never miss a visit from your favorite birds and can enjoy crystal-clear, real-time watching without interruption.
Ready for a flawless connection? Explore a Wi-Fi bird feeder camera designed with robust connectivity in mind and get back to smooth, reliable live viewing.